How to use VideoPlayer in SwiftUI
Jul 19, 2022
With iOS 14, Apple introduced a native way for implementing video playback in your SwiftUI app. The VideoPlayer component in AVKit provides with this capability. So without further ado, let's dive in.
Basic Implementation
Let's try to play some local media. Firstly, you would need to import some media in Assets folder or in the project folder itself.
Now that you have imported the media, let's play it using Video Player - player initializer.
import SwiftUI
import AVKit // 1
struct ContentView: View {
@State var player = AVPlayer(url: Bundle.main.url(forResource: "iMac2021", withExtension: "mp4")!) // 2
var body: some View {
VideoPlayer(player: player) // 3
.frame(width: 400, height: 300, alignment: .center) //4
}
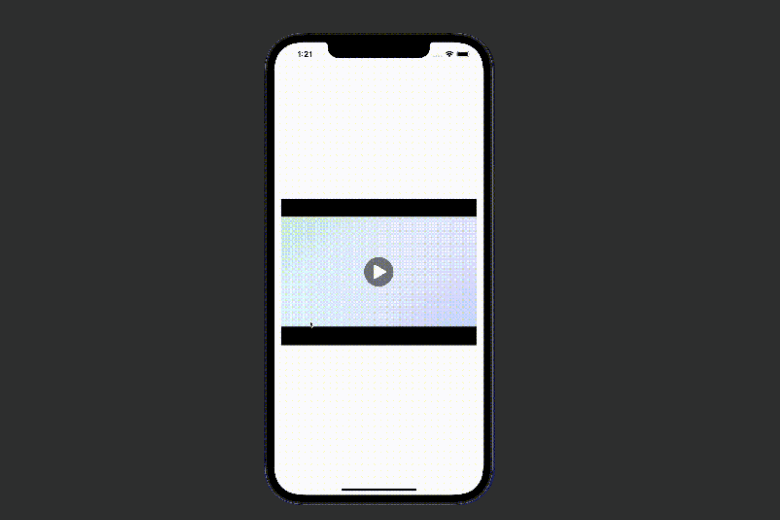
}Result:
Code Explanation:
- Importing the
AVKitin order to useVideoPlayer. - Defining the player variable with the URL of the video we just imported. Force unwrapping optionals is not a good practice but here for the sake of demonstration purpose, we have done it.
- Initializing the
VideoPlayerwithplayervariable. - In order to avoid sizing issues, we gave certain height and weight to video player.
Here, you have successfully implemented a basic video player.
Playing videos remotely
In most of the practical scenario, you would be fetching the video from some remote URL. So, let's give that a try initializing the player with a remote URL.
@State var player = AVPlayer(url: URL(string: "https://swiftanytime-content.s3.ap-south-1.amazonaws.com/SwiftUI-Beginner/Video-Player/iMacAdvertisement.mp4")!) // 1
var body: some View {
VideoPlayer(player: player)
.frame(width: 400, height: 300, alignment: .center)
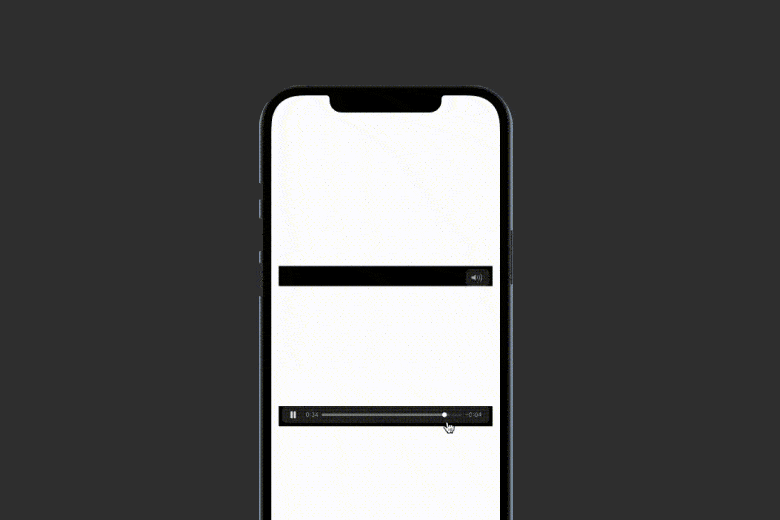
} Result:

Code Explanation:
- Here, you initialized the player with URL string and used it the
VideoPlayer.
Video Overlay
In most of the practical app implementation, you would require some kind of overlay - may it be a watermark or the control buttons.
var body: some View {
       VideoPlayer(player: player, videoOverlay: { // 1
           VStack(alignment: .leading) { // 2
               Text("iMac 2021 Advertisement")
                   .foregroundColor(Color.gray)
                   .bold()
                   .font(Font.title2)
                   .padding(.all, 10)
               Spacer()
           }
       })
       .frame(width: 400, height: 300, alignment: .center)
}
Result:
Code Explanation:
- Here, the VideoPlayer is initialized with
playerandvideoOverlayparameters. - For example sake, a VStack with a stylized title is used as an overlay.
A limitation with this overlay is that you cannot add actionable buttons on top of the player as an overlay.
Video Loop
There may be times when you want to loop the video or a gif. One way you can implement it is by adding a notification observer to the player. So every time the player ends playing, you can call a particular block of code.
var player = AVPlayer(url: URL(string: "https://swiftanytime-content.s3.ap-south-1.amazonaws.com/SwiftUI-Beginner/Video-Player/iMacAdvertisement.mp4")!)
    var body: some View {
        VideoPlayer(player: player)
            .frame(width: 400, height: 300, alignment: .center)
            .onAppear {
                addObserver() // 1
            }
            .onDisappear {
                removeObserver() // 2
            }
    }

    func addObserver() {
        NotificationCenter.default.addObserver(forName: .AVPlayerItemDidPlayToEndTime, object: player.currentItem, queue: nil) { notif in // 3
            player.seek(to: .zero) // 4
            player.play() // 5
        }
    }

    func removeObserver() {
        NotificationCenter.default.removeObserver(self,  // 6
                                              name: .AVPlayerItemDidPlayToEndTime,
                                              object: nil)
    }
Result:
Code Explanation:
- Calling the
addObserver()method when the video player appears. - Removing the notification observer on view disappear.
- Adding an observer on the player for every time the player ends.
- Seeking to the start of the player (0:00) when the player reaches the end.
- Playing after seeking.
- Removing the particular observer from the Notification center.
In the similar way, you can add notification observers for other player actions too. Eg. when the player time is changed, when the player starts, when the player item fails.
If you looking forward for hiding controls and adding your own controls, you can instead go for AVPlayerController UIViewRepresentable.
You can access an example project with all the examples discussed above on Swift Anytime's VideoPlayerInSwiftUI repository. Feel free to check it out and play around.
Congratulations! You deserve to celebrate this moment. Today you learned about the basic implementation of streaming a video locally and universally, adding an overlay on top of the article and looping the video using notification center. We encourage you to read more related articles like Colors and Gradient in SwiftUI, SharePlay Implementation, Geometry Reader in SwiftUI.
Signup now to get notified about our
FREE iOS Workshops!
