How to use Gestures In SwiftUI
Nov 16, 2022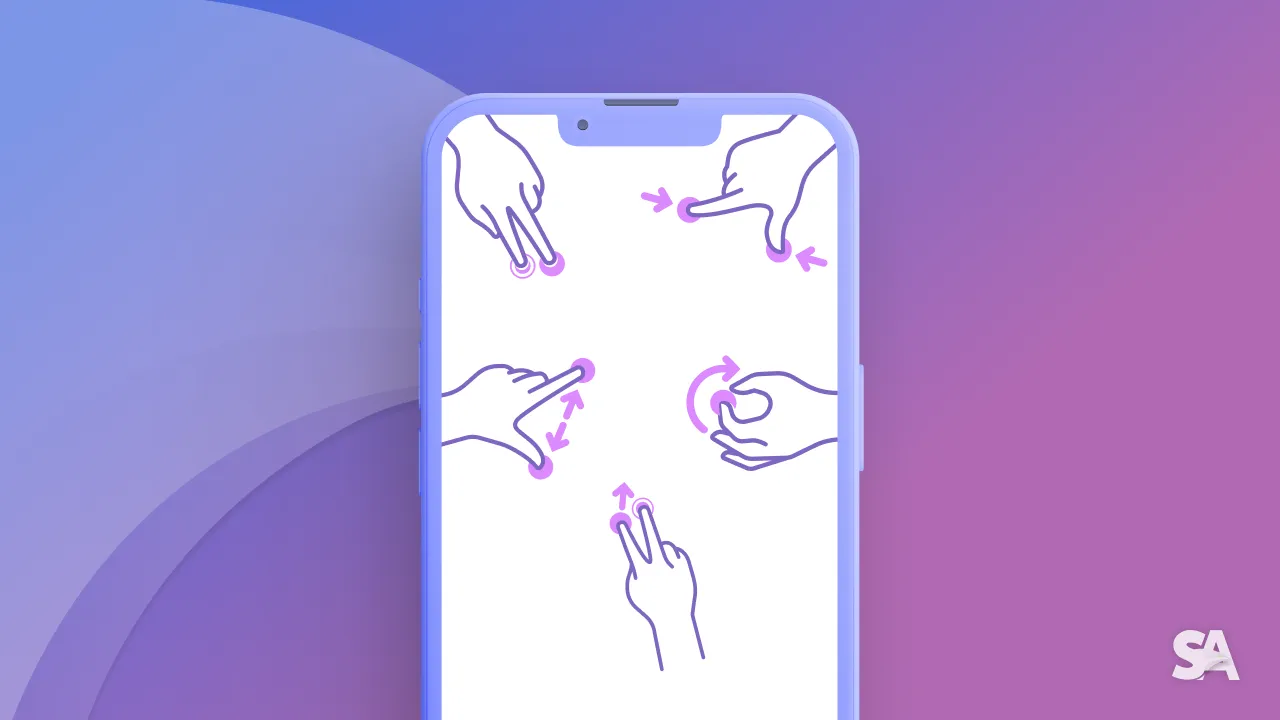
Back when we had Blackberry and Nokia phones, everything was based on button clicks. After clicking those chunky keys, you would be able to write the text and use the phone. Got some nostalgia kicking in, huh? Well, that was the scenario back then. When the touch screen phone came, all those chunky keys were gone and everything was based on finger gestures. There are multiple gestures one can perform on a modern cell phone: tap, drag, swipe, pinch, double-tap, rotate, shake, touch and hold, and a lot more. Today, you are going to dive into a few of the essential and most used gestures in SwiftUI.
Tap Gestures
These are the most basic gestures. Most of the interactions in modern apps are done through tap gestures. Implementing tap gestures is pretty simple. You call .onTapGesture() on the view you want to track the gesture.
        Text("Hello, World!")
            .onTapGesture {
                print("View Tapped")
            }
Result:
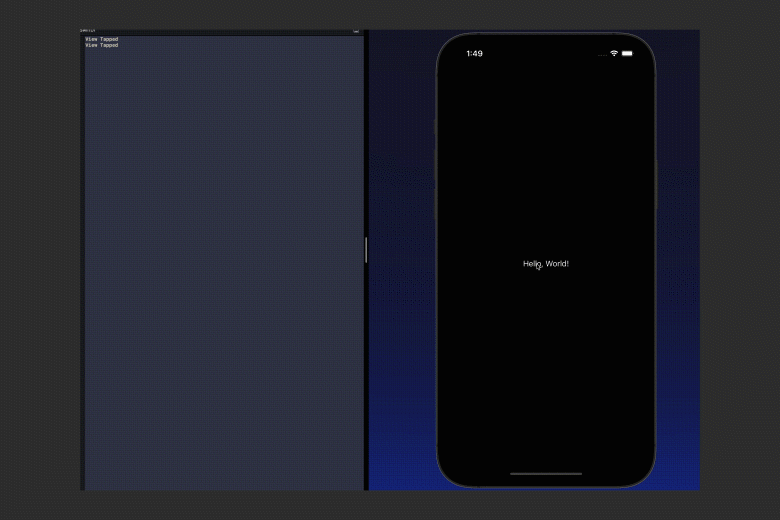
In the above example, every time the view is tapped, "View Tapped" is printed.
You can also implement action on a certain amount of tap gesture counts. This could be used to having some custom interaction or secret hack (like tapping multiple times to show a shortcut).
In the following code, every time the text is tapped three times, "View tapped multiple times" is printed.
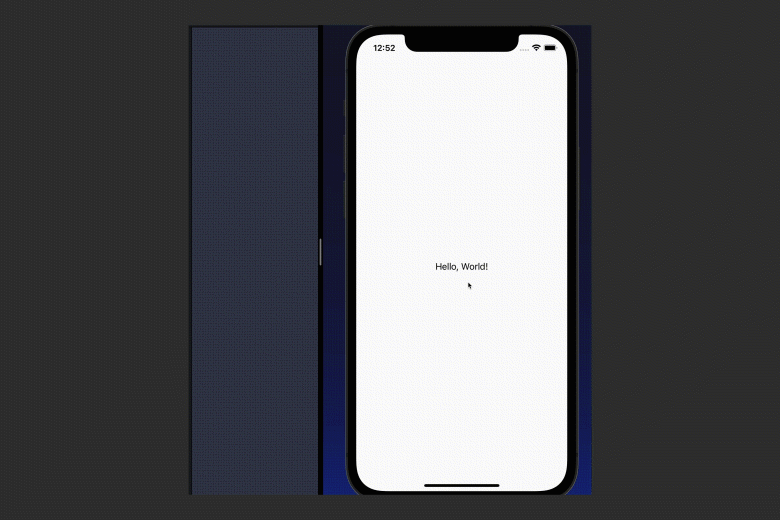
   Text("Hello, World!")
            .onTapGesture(count: 3) {
                print("View tapped multiple times")
             }
Result:
Long Press Gesture
You can creatively apply long-press gestures. For example, in the Instagram app, long-pressing the play button in the camera will record a video. While performing a tap gesture will take a picture.
Just like tap gestures, there are long tap gestures where we tap the view for too long. Implementing a basic long press gesture is quite similar to implementing a tap gesture (as given above).
  Button {
            print("Button Tapped")
        } label : {
        Label("Start", systemImage: "play") // 1
        }
            .padding()
            .foregroundColor(.black)
            .background(Color.orange)
            .cornerRadius(10)
            .onLongPressGesture  {
                print("Long Press Gesture") // 2
            }
Result:
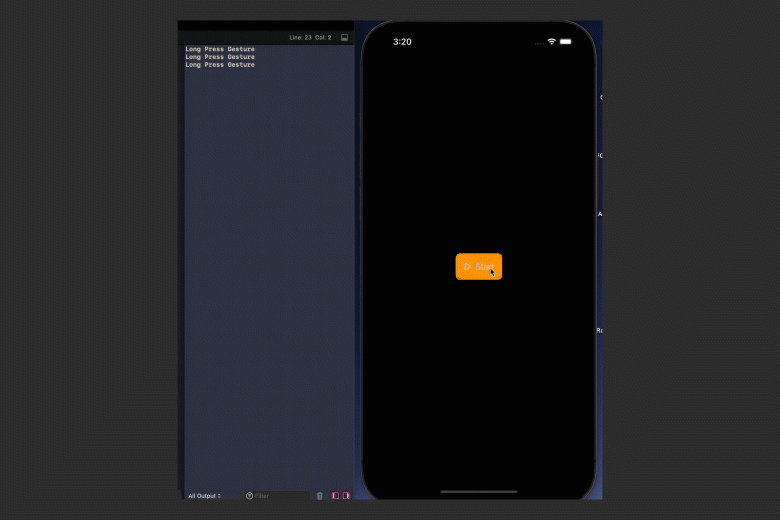
Code Explanation:
- Here, there is the use of label with SF Symbol image and "Start" as the text.
- Adding the modifier so that when a long process gesture is detected, it prints "Long Press Gesture".
As expected, on long press of the view, the compiler prints "Long Press Gesture". But what if you want some specific time limit? Or what if you want to have some custom UI when the view is being pressed? For that, onLongTapGesture comes with minimumDuration parameter to add minimum time limit and onPressingChange method which takes a boolean.
 @State var backgroundColor = Color.orange
    var body: some View {

        Label("Start", systemImage: "play")
            .padding()
            .background(backgroundColor) // 1
            .cornerRadius(10)
            .onLongPressGesture(minimumDuration: 3) { isPressing in // 2
                if isPressing == true { // 3
                    self.backgroundColor = .red
                } else {
                    self.backgroundColor = .orange
                }
            } perform: { // 4
                print("Long Press Gesture")
            }
    }
Result:

Code Explanation:
- Adding variable background so one can change it programmatically.
- Here, the long press gesture is given a minimum duration of 3 seconds. So, the long press is detected in 3 seconds.
- When the press state change is detected, the bool (isPressing) is checked. If isPressing is true, the background is red or orange.
- Prints "Long Press Gesture" on long-press gesture.
Magnification Gesture
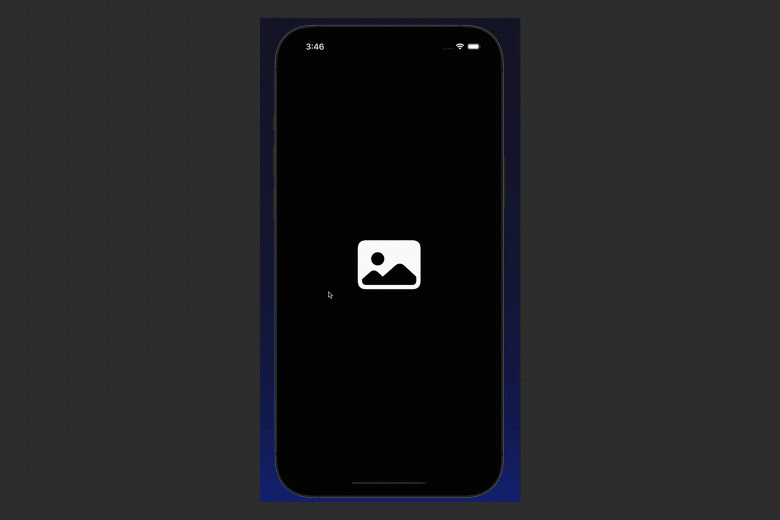
When working on making standard media (mostly images and videos) in SwiftUI, you would most probably deal with magnification for zooming onto images and videos.
  @State var zoomScale = 1.0 // 1
    var body: some View {

        Image(systemName: "photo.fill") // 2
            .resizable()
            .aspectRatio(contentMode: .fill)
            .frame(width: 100, height: 100)
            .scaleEffect(zoomScale) // 3
            .gesture( // 4
            MagnificationGesture()
                .onChanged({ amount in
                   zoomScale += amount
                })
        )

    }
Result:
Note: You can simulate two-finger actions in the simulator by clicking Option button.
Code Explanation:
- The zoom scale is stored in the variable. The default value is 1.
- Here, you add an image that is resizeable, with a 100x100 frame and fill content mode.
- The scale of the is set to zoomScale. We are later going to change this value when the magnification gesture happens.
- Here, the magnification gesture is added to the view and on change, the magnification value of image is added to zoomValue. This will cause the zoom effect.
Here, this doesn't allow to zoom back in or have smooth gestures since that is more of an intermediate topic. That is a discussion for another SwiftAnytime article.
Though, this is not where the topic ends. This is a broad topic with multiple gestures and their application. Like, you could implement a pan gesture on the home screen and implement an Instagram-like home screen-swipe gesture by tracking the translation. Or you could use drag gestures for the interaction of arranging certain files in your app.
Wrapping up the article piece, today you learned about tap gesture, long-press gesture and magnification gesture.
Signup now to get notified about our
FREE iOS Workshops!
