ContextMenu in SwiftUI
Aug 24, 2022
Context menus are basically peek-and-pop interactions and can be a great add-on to the UI elements in your app and can enhance the experience. Context menus works pretty much like Menus in SwiftUI. An analogy you could use is that context menu and menus are cousins.
You will observe how Apple uses context menus consistently throughout their apps.
Human Interface guidelines:
The key takeaways from the human interface guideline for the context menus are:
- Use submenus to manage complexity
- Keep up the consistency of the context menu in the app
- Most frequently used item in the menu = top of the menu
- Use separators for a group of related menu items.
Now that we know the do’s and the don’ts of the context menu, let’s dive deep into context menus in SwiftUI.

Basic Implementation
Basic Context Menus can be implemented by using the contextMenu style modifier over the existing view. These menus are triggered when you long press them.
struct ContentView: View {
    var body: some View {
        Image(uiImage: UIImage(named: "swiftanytime.jpeg")!)
            .contextMenu {
                    Button {} label: {
                        Label("Download", systemImage: "square.and.arrow.down ")
                    }

                    Button {} label: {
                        Label("Save to photos", systemImage: "photo.fill")
                    }

                Button {} label: {
                    Label("Share", systemImage: "square.and.arrow.up")
                }
           }
    }
}
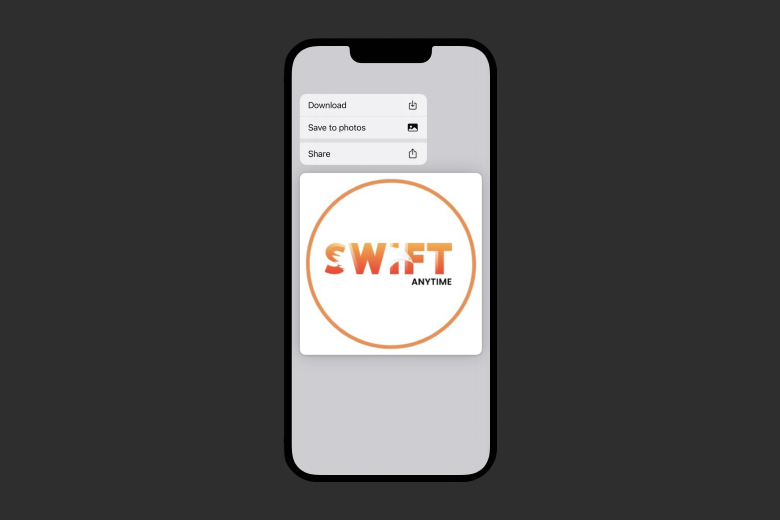
Result:
In the above code, you added a bunch of buttons with different text and SF symbols.
Also note that it is recommendable to use icons within the menu.
Context Menu with separator and destructive buttons
When you have a lot of options, you can use dividers to make a clear division. Dividers can be added to context menus by inserting Divider() between the buttons.
 var body: some View {
        Image(uiImage: UIImage(named: "swiftanytime.jpeg")!)
            .contextMenu {
                Button {} label: {
                    Label("Download", systemImage: "square.and.arrow.down")
                }

                Button {} label: {
                    Label("Save to photos", systemImage: "photo.fill")
                }
                Divider()
                Button {} label: {
                    Label("Share", systemImage: "square.and.arrow.up")
                }
            }
    }
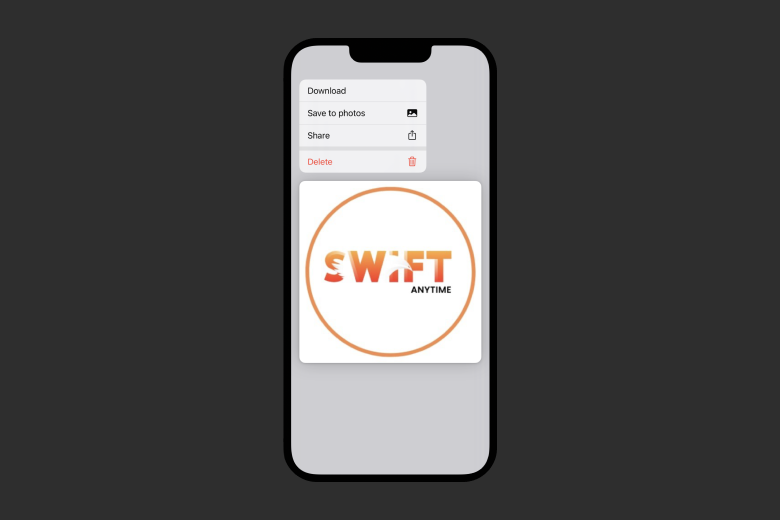
Result:
For presenting a button with destructive/delete action, you could initialize the button with destructive role.
 var body: some View {
        Image(uiImage: UIImage(named: "swiftanytime.jpeg")!)
            .contextMenu {
                Button {} label: {
                    Label("Download", systemImage: "square.and.arrow.down")
                }

                Button {} label: {
                    Label("Save to photos", systemImage: "photo.fill")
                }
                Button {} label: {
                    Label("Share", systemImage: "square.and.arrow.up")
                }

                Divider()
                Button(role: .destructive) {} label: {
                    Label("Delete", systemImage: "trash")
                }
            }
    }
Result:
Submenus in Context Menu
What if you have multiple menu items based around similar things? In that case, you may use menu items and group the items together.
You can wrap around the button based on same action around a Menu() block and give it a relevant title.
  var body: some View {
           Image(uiImage: UIImage(named: "swiftanytime.jpeg")!)
               .contextMenu {

                   Button {} label: {
                       Label("Download", systemImage: "square.and.arrow.down")
                   }

                   Button {} label: {
                       Label("Save to photos", systemImage: "photo.fill")
                   }
                   Menu("Image Editing"){ // 1
                       Button {} label: {
                           Label("Markup", systemImage: "pencil.tip.crop.circle")
                       }
                       Button {} label: {
                           Label("Crop", systemImage: "selection.pin.in.out")
                       }
                       Button {} label: {
                           Label("Compress", systemImage: "rectangle.compress.vertical")
                       }
                   }
                   Divider() // 2
                   Button {} label: {
                       Label("Share", systemImage: "square.and.arrow.up")
                   }
               }
       }
Result:
Code Explanation:
- Adding a menu with "Image Editing" title and bunch for buttons.
- Adding a divider after the menu.
Concluding the whole article, today you learned about basic implementation of context menus, human interface guidelines for context menus, adding separators and adding sub menus to it. We encourage you to read more related articles like Colors and Gradient in SwiftUI, SharePlay Implementation, Geometry Reader in SwiftUI, Slider in SwiftUI.
Signup now to get notified about our
FREE iOS Workshops!
